Printable Wedding Planning Checklist for DIY Brides

We know planning your own wedding can be a little overwhelming, especially in the beginning.  Where do you start? Who do you call first?  When a wedding planner just isn't in the budget, what is a DIY bride to do?  Lucky for you, we've been in the industry long enough to know the answers to all your wedding planning questions.  To make it easy, we've put together this comprehensive wedding planning checklist which includes a countdown to your big day listing all the most important duties to tackle before you walk down the alter.  We hope you love it! Feel free to download, save to your computer, print, and check off your to-dos as needed.

Click here to download the FREE editable wedding planning checklist


System Requirements: You will need Adobe Acrobat or Adobe Reader, version 7.0.5 or later.  If you don't have either, Adobe Reader is available for free at adobe.com.  Once you have downloaded Adobe Acrobat or Adobe Reader software, you will be able to save this checklist to your computer for easy access to your to-do's and contacts. Not available for resale or redistribution.

DIY Ombre Dipped Taper Candle Centerpieces

We can't get enough of candlelit receptions, and are always looking for new creative spins on classic wedding decorations - so imagine our delight when we discovered candle dipping! Using only a few supplies, we were able to create gorgeous centerpiece decorations that would be perfect for a spring wedding, or could be altered slightly to work for any wedding theme. 

DIY Ombre Dipped Taper Candle Centerpieces

Spend an afternoon dipping candles in colored wax with our step-by-step instructions below to create a one-of-a-kind look to wow your guests. You may want to gather a few friends or family members to help with this project, but we promise you'll love the results.  When you set up your fabulous reception tables, you'll be so glad you took the time to make these gorgeous decorations.

DIY Ombre Dipped Taper Candle Centerpieces

Supplies:

  • Assorted Taper Candles
  • Wax Beads or Flakes (We used Natural Soy 444 Wax from Amazon)
  • Crayons
  • Crock Pot
  • Mason Jars
  • Wooden Spoons or Wooden Craft Sticks
  • Water

DIY Ombre Dipped Taper Candle Centerpieces

Instructions:

Set up and plug in your crock pot. We turned ours on High. Place several mason jars inside your crock pot, each firmly sitting upright. 

DIY Ombre Dipped Taper Candle Centerpieces

Add wax to each mason jar, filling to the top, but not overflowing. 

Add water to the crock pot. You will want to add as much water as you can without spilling into the jars or over the sides of the crock pot. The more water you have, the faster your wax will melt. Tip: The reason we do this after adding the wax is that you do not want your jars just floating around in the water - and the wax adds the weight you need to keep them anchored.

DIY Ombre Dipped Taper Candle Centerpieces

As the wax melts, you will need to add more until you have enough melted wax to fill the jars almost all the way to the top - leave about an inch to an inch and a half at the top to avoid overflowing when the tapers are dipped. We ended up using about a pound of wax per color, but it will vary based on the number of candles dipped, as you may need to replenish the wax in the jars if you dip quite a few. 

While you are waiting on the wax to melt - which could take a while depending on the type of wax you choose and the amount you are melting - you will need to get your crayons ready. 

DIY Ombre Dipped Taper Candle Centerpieces

Shave about 1/2 to 3/4 of each crayon to add to each jar of wax. Shaving the crayons instead of chopping them cuts down on the melting time. We recommend using individual sheets of wax paper for each color to avoid making a mess. Lay down a sheet of wax paper and make small shavings with a paring knife.

DIY Ombre Dipped Taper Candle Centerpieces

When you are done, lift the wax paper with the crayon shavings inside and use the wax paper to pour the crayon pieces into each jar.

DIY Ombre Dipped Taper Candle Centerpieces

Stir each jar to ensure all wax is melted and the crayon is evenly mixed throughout. 

At this point, dip a test taper candle in each jar to ensure the color is what you wanted. If it is not as bright as you want, adjust by adding more crayon. If you want to change the hue, add a different color to balance it out. Keep in mind that if you are wanting an ombre effect, you will want a lighter result. That way, when dipped multiple times the color will intensify.

Once you are satisfied with the color, remove the jars from the crock pot and place on a heat-resistant surface. The jars will be hot, so we suggest using a towel or oven mitts when moving them. (The reason for this is that when the wax is so hot, it does not adhere well to the candles - it is best to let it cool a little bit.)

Leave the crock pot on with the water inside in case your wax begins to harden. If the wax begins to harden, place the jar back inside the crock pot until it is fully melted again.

DIY Ombre Dipped Taper Candle Centerpieces

Slowly dip your candles. 

For an ombre look, lower the candle as deep in the wax as possible (you may need to tilt the jar on an angle to dip it deeper, but do this cautiously) and hold for 5-10 seconds before removing. 

Hold the candle out of the wax for 10-20 seconds to allow the colored wax to set. The wax may drip from the bottom of the candle a bit, so make sure to hold it over the jar. 

Dip the candle into the jar again, but do not dip as deep as the first time. Stop about a half inch to an inch below the last dip line. Hold in the wax for 5-10 seconds and then remove for about 10-20 seconds before dipping again. 

Repeat these steps, dipping less of the candle each time until you achieve the desired look. 

Hold for about a minute to allow the colored wax more time to set. 

While the wax is pliable, use your fingers to remove some wax from the base (about an inch at the bottom of the taper candle) so that the candle will fit into the holders you plan to use. It is easy to remove some of the wax in this area at this point and once removed, you can smooth out the wax remaining with your fingers.

Set down to cool. Tip: Use a baking dish with a raised edge. Set the base down in the pan, and prop the top on the edge of the dish so that your candles are not drying on a flat surface.

Repeat with each candle in the color assortment of your choice.

After you are finished, turn off and empty your crock pot.

Once cooled, store the candles - individually wrapped in plastic wrap - in a cool, dry place away from any heat sources until you are ready to use them.

Tip: With the unused wax, you could make small individual candles by placing a wick in a small jar, adding wax mixed with a few drops of essential oils, and allow to cool fully. Package these as gifts for your bridesmaids or to be handed out as favors at your bridal shower.  

DIY Ombre Dipped Taper Candle Centerpieces

We hope you enjoy making these beautiful ombre dipped taper candles as much as we did!

Glam Pink, Black and White Styled Shoot

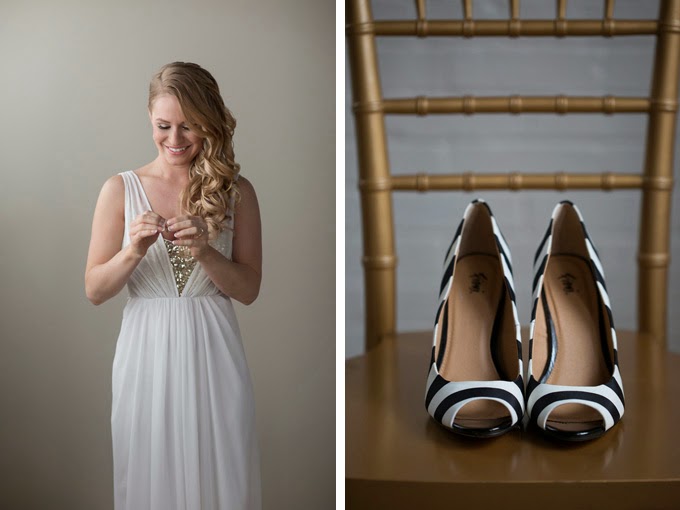
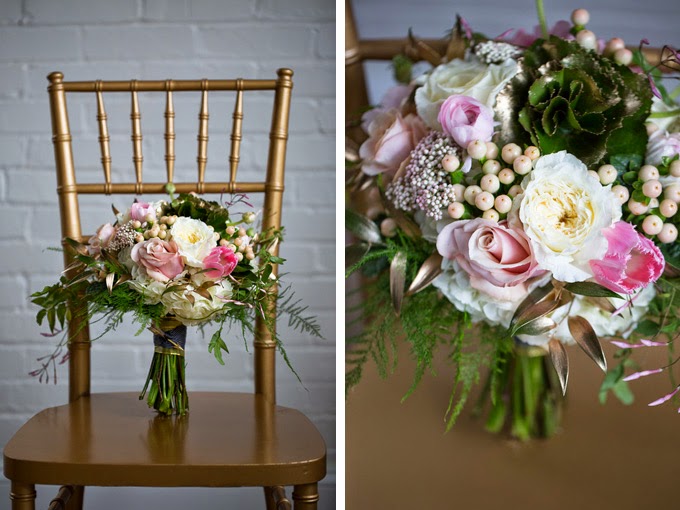
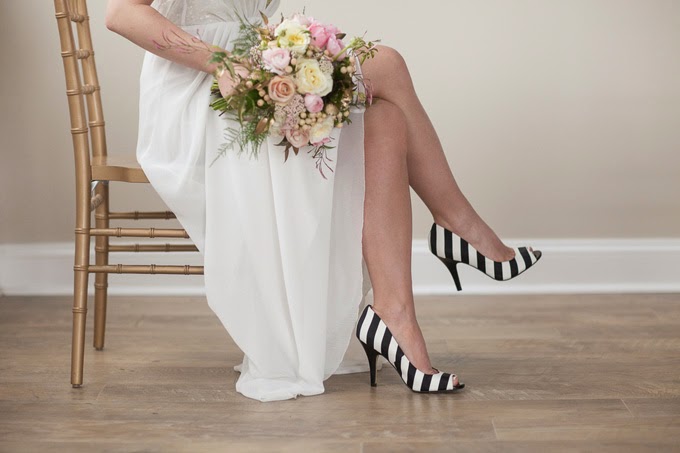
This glam styled shoot is oozing with lush florals and a unique patterned tablescape.  We are in love with the styling by Taryn Blake Events, and think the shoot is absolute perfection for a Spring wedding.  Soft matte pinks and dark blacks stand out among glittery gold and muted ivory tones.  Girly, flirty, a bit non-traditional, but completely full of elegance and personality that captivates the essence of the day. The models are actually newlyweds who wanted to help design a second event that really would stand out! The bold stripes, glittery gown, and industrialized party feel gave them the kicked up wedding experience that they were seeking.  A big thank you to Jennifer Rotz Photography who photographed all the gorgeous elements of the day and helped bring this shoot to life.  Don't forget to scroll to the bottom to see all the other wonderful vendors who helped plan this amazing shoot.

Glam Pink, Black and White Styled Shoot
We are obsessing over this chic table setting from the glittering gold sequin table runner to the trailing florals with tulip accents and striped dinnerware.  Doesn't it just beg for a Spring wedding. Simply fantastic.

Glam Pink, Black and White Styled Shoot
Setting atop the guest place settings were small clear favor boxes filled with pink cotton candy tied with glittery gold ribbon which echoed the styling of the wedding cake.  Sweet and adorable. 

Glam Pink, Black and White Styled Shoot
Photography: Jennifer Rotz Photography / Event Planner: Taryn Blake Events / Invitations: 26 Press / Linens: Event Central / Makeup: Glam On Demand / Etsy Designer: Host & Toast / Attire: J & B Bridals / Signage: LBF Studio / Flowers: Summer Thyme Floral / Cake: The Perfect Cake

Nautical Wedding Inspiration Board

One of our favorite trending themes in weddings this year is nautical, and we expect to see some stunning ceremonies and receptions with lavish maritime decor. The sea is a vast and beautiful thing - so it is no wonder brides have been turning to it for inspiration for their big day, with details that will have you swooning. Nautical weddings are known for showcasing navy blues along with stripes, anchors, and rope accents throughout the decorations. 

Nautical Wedding Inspiration Board


Nautical Wedding Inspiration Board


Nautical Wedding Inspiration Board


Nautical Wedding Inspiration Board

2015 Wedding Trends and Ideas

Researching wedding trends for 2015 has got us beyond, BEYOND excited.  There is no doubt that 2015 is going to be a year full of gorgeous and jaw dropping weddings.  Elegance and understated sophistication will reign supreme.  Expect to see lush florals, gilded decor, and personalized touches from the bride and groom throughout the year.  One thing is for sure, brides and grooms are pulling out all the stops to ensure their guests are having a great time and that their personalities are shining through on their big day.

1) Loose, Organic Florals

Loosely Tied Organic Flowers and Bouquets 

This unstructured approach to wedding flowers is taking the wedding industry by storm and can be seen in everything from bouquets to table decor.  The idea is to create a just picked from the garden look full of texture, foliage, berries, and romantic stems like garden roses, peonies, ranunculus, and hydrangeas.


2) Crafted Drink Stations

Crafted Drink Stations 

Crafted Drink Stations 

Crafted drink stations are all about bringing a signature drink to your wedding. N/A options like decked out water stations and lemonade and iced tea bars are always a popular choice.  Bubbly bars and craft beer stations are also gaining popularity.  These stations have the added benefit of saving you money on your bar budget.  By sticking to just a few select items instead of providing a fully stocked bar, you will save on the unnecessary extras.


3) Unexpected Menu Options and Food Trucks

Pickle Wedding Food Station 

Couples are venturing away from candy buffets or dessert bars and instead offering guests a unique twist on appetizers and menu items.  On site food trucks will be seen throughout 2015 and unique food stations such as cheese buffets, bruschetta bars, taco stations, and fruit bars will take the spotlight.


4) Framed Seating Charts

Framed Seating Chart 

Whether written on a vintage mirror or displayed within an ornate picture frame, one thing is for sure, romantic seating displays are a must have in 2015.


5) Long Sleeved Wedding Dresses

Long Sleeved Wedding Dress 


6) Watercolors

Watercolor Wedding Invitations 

Watercolor Menu Display 


7) Calligraphy

Calligraphy Wedding Sign 

From painted signs and seating charts to invitations and place cards, hand written calligraphy lends a romantic, personalized and inviting touch to the small details.


8) Gold Decorations

Gold Wedding Decorations 

Silver is no longer the go to accent color for brides.  Golden, gilded, glittery, and rose gold wedding decorations have taken over and help add warmth to a wedding color palette pairing flawlessly with rustic wood elements and earth tones.


9) Unity Ceremony Alternatives

Unity Ceremony Alternatives 

Forget the typical unity candle ceremony, couples want a more personalized option for their unity ceremony from sand shadow boxes and love letters to wine blending ceremonies.  See 11 Wedding Unity Ceremony Ideas


10) Wreaths, Garland, and Greenery

Wreath Wedding Chair Backs  

Garland Wedding Table Runner 

2015 will be full of organic details, greenery, and foliage.  Wreaths and garland will be seen on everything from chairbacks and table runners to archways and get away cars.


11) Family Style Seating

Family Style Wedding Dinner Seating 

Some of the funnest wedding receptions are the ones served family style.  Pass the potatoes please!


12) Taper Candles

Taper Candle Wedding Decorations 


13) Guest Lounge Areas

Guest Lounge Areas 

Give your guests an escape from the dance floor with a cozy lounge area where they can sit back and relax for a beat.


14)  Hanging Decorations 

Hanging Wedding Decorations 


Hanging Wedding Decorations 

Chandeliers, flowers, lanterns, string lights, and even the table centerpieces themselves are being raised to new heights with this hot trend.

Hover to Pin
 
Related Posts Plugin for WordPress, Blogger...